This page is a work in progress. I *lost* the first one I was working on so hopefully it won't happen again.
To start the journey I first need a vehicle.
I wanted something small that I could easily manage but cheap so it wouldn't matter too much if I couldn't *do it* and had to resell.
December 2010.
We saw an add for a van in the Quokka
It is under my budget and fits most of the criteria.
It is automatic, power steering and diesel with under 200,000km
Less than 20 years old,
 | |||||||||||
| This is the van as we first saw it. |
It needs a new starter motor but otherwise seems to run pretty good. The body is a bit rough but hey, some of us get like that as we age.
January 2011.
Starter motor has been fixed. Spare tyre replaced.
The back seats have been taken out, as has the too high and not nice bed that was in there.
It has been thoroughly cleaned.

March.
I made a privacy curtain to go across the front of the van.
I was given a few unused but years old grey blankets that I thought would work great as they would stop heat and light coming through from the front, they were cheap free, were blanket stitched all around the edges so hemming could be cut down...
I measured the height I wanted them, allowed enough for a hem to put a piece of dowel through and cut, using the BS as the bottom so I wouldn't need to hem that.


A length of dowel has rubber stoppers on each end and just needs to be pushed in place for it to sit firmly in the curve of the roof.
I used the other half of the grey blanket to make a curtain for the back liftup door.
A curtain that has been sitting in a bag in the shed for the last 5 years has been put to use as a bug screen for the sliding door. It has elastic wire threaded through the top and a couple of small hooks have been screwed into the inside wall of the van.

I thought that it might be too long and need to be cut but with a piece of dowel it can be lifted up and away from the step and that step can now be used as a seating area for a coffee and a read.

BED.
Hubby bought some box tubing to make the bedframe. We wanted something that I could sleep on but able to pull out to sleep the 2 of us.
 | |
| I gave it a go but... |
 | |
| I think I'll let him do it. |
 |
| Getting the height right. |
 |
| Needs a top and extension added. |
 | |||
| Like so... |
MATTRESS
We had a narrow mattress that we thought would do the job. It needed to be sliced into 2 thinner pieces so there was 1 for each of us when we both went.


COVERS.
I wanted to cover the foam so went down to our local op-shop and bought a quilt cover. It was reversible and plenty big enough. I just cut it to size and sewed down one side. Because the pullout part of the bed is narrower we had to cut the bottom mattress narrower and so ended up with a narrow section that I covered the same.


But because I have both mattress' on the bed when it is a single we still need to use the cut off section to match the width of the top mattress.
 |
| Bed for one. |
 |
| Bed pulled out for 2 people |
 |
| Looking at pulled out bed from the front. |
We have tried the bed and there is plenty of room for us both.
SIDE CURTAINS.

The material I wanted to use for the curtains was too thin so I doubled it over and threaded elastic wire through top and bottom and it hooks onto small hooks screwed into the van walls.


BUG SCREENS.
So I can have the front windows down a bit I needed something to keep the bugs out.
I sewed some netting into a *sleeve* that slides down over the door. They have elastic around the bottom and sit flat against the door.

BACK NETTING.
I have used another old curtain as a screen for the back door. It keeps bugs out and allows me to have the back door up during the day.


PAINTED CARDBOARD.

I have cut and painted some cardboard to fit a side window instead of making curtains for behind the cupboard. It keeps out light and heat.
TOILET.
I wanted a toilet of some sort in the van for times when there was no decent ones around to use.
We already had one so we made the van to fit the loo.
Because some people were a bit *iffy* about me having a toilet in the van I wanted it so that it was not so noticeable. That meant a cover of some kind.
I used another blanket and made a cover for it. But though I measured twice then again to be sure I still made it too big. But it works fine.
I sewed handles on it so it can be lifted in and out of it's place easily and discreetly.

I wanted a toilet of some sort in the van for times when there was no decent ones around to use.
We already had one so we made the van to fit the loo.
Because some people were a bit *iffy* about me having a toilet in the van I wanted it so that it was not so noticeable. That meant a cover of some kind.
I used another blanket and made a cover for it. But though I measured twice then again to be sure I still made it too big. But it works fine.
 |
| In the shed with the bag pulled down. |


This arm holds the toilet in place when the van is moving. It doesn't get in the way when the toilet is being used.
This arm is removable and is used as the corner leg for the bed when it is pulled out for two.

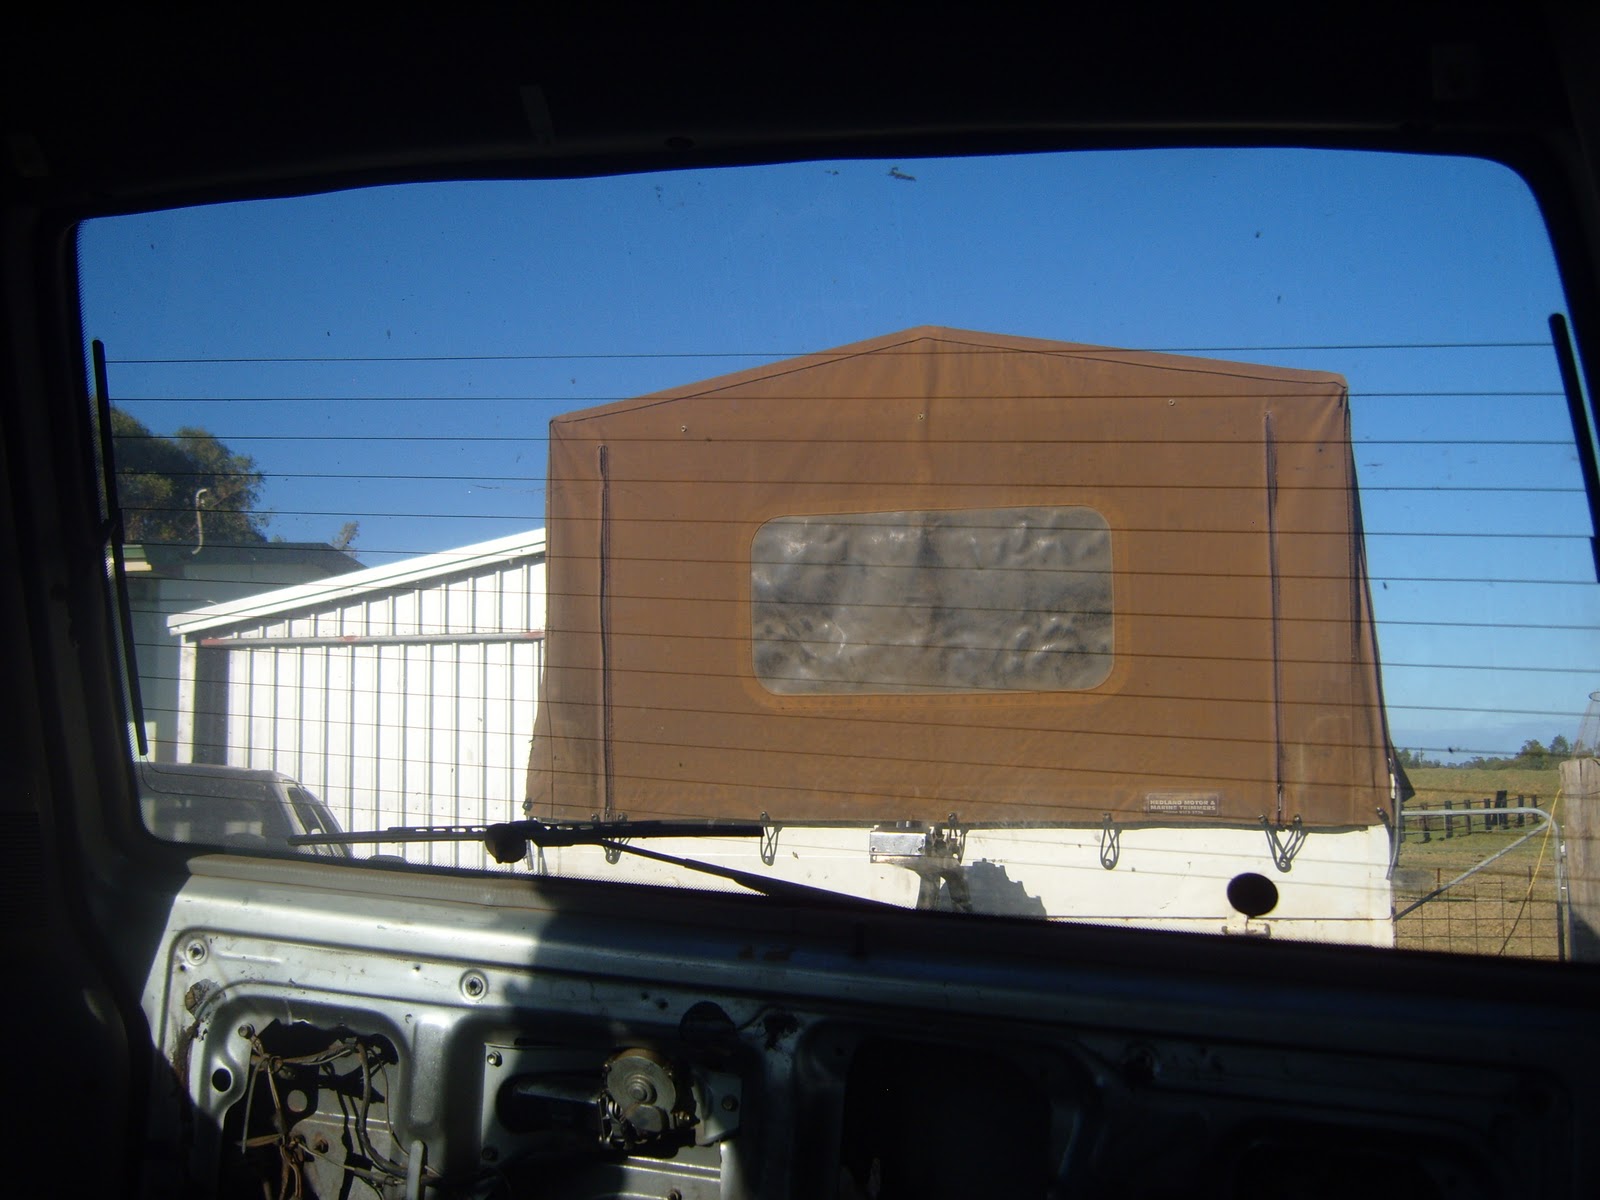
If the 2 of us go away we have a shower tent that will be set up outside.
I use a homemade mixture in the bottom tank.
I use Woolworth’s home brand Nappy Treatment Plus
2 tablespoons of nappy powder mixed in ½ litre of warm water, Shaken to mix in an old plastic bottle. Pour into bottom tank of toilet. Ours is a 20ltr tank.
These products state they are phosphate free, biodegradable to Australian Standards 4351 and safe for septic tanks and as we have a septic tank at home this is what I choose
CUPBOARD.
I reused a couple of old speakers by taking out the guts and putting a box either side of the wheel hump. The idea was to put a board across these and then to put some sort of cupboard on top of that. The bed would rest on these when it was pulled out.
We had a couple of old bee boxes that fitted on the board and with a shelf across the top it all works good.
Hubby came up with the idea to put a small fold down table at the end near the sliding door.


 |
| View from the front of the bed. |
 | ||||
| Looking in from the back. |
COOKING.
For cooking I have a small butane stove. It is quick and easy to set up and safe for me to use. It heats enough water for a coffee in a matter of minutes.
I will use it mainly for heating meals that I have pre prepared at home and frozen.
I plan on using it outside of the van but it fits on the fold down shelf so I can use it inside if I need to like if it is raining and I need a coffee.
I don't like the fact that the fuel canisters are disposable. I hate that but I haven't a better way yet so this will stay.

 |
| I am using a small board as a table. |
We do have a small gas stove that a cooktop thing scews onto but it is heavier and I have trouble using it. We use that when we take Hubby's car.
STORAGE.
I *pinched* most of the storage boxes from Hubby's shed. The contents of a couple were tipped onto the shed floor, a couple were already empty...
I am still not sure what to have in which one but will work it out as I go.

I have an insulated bottle that holds 5ltr. Bottles of frozen water to use in the esky that adds another 3 or 4 and a box on the end of the cupboard holds bottles that give me another 8.
That's plenty so allows some to be used for washing, both myself and any dishes.
LIGHTING.
I pinched a solor shed light from Hubby. I had it sitting on the dash and the cable was long enough so the light could be used in the back. It worked but wasn't bright enough to read by.
Hubby put a battery in the back of the car and gave me a 12volt light that clips onto the battery..
This battery is trickle fed by a solar charger that is kept in the sunroof panel.
I do have an inverter but so far I don't plan on using anything else electrical. This may change though.
FIRST SOLO JOURNEY.
I am still not sure what to have in which one but will work it out as I go.

WATER.
I will only be away for 1 or 2 nights at a time, maybe 3, so wanted to have 10litres of drinking water as a minimum.I have an insulated bottle that holds 5ltr. Bottles of frozen water to use in the esky that adds another 3 or 4 and a box on the end of the cupboard holds bottles that give me another 8.
That's plenty so allows some to be used for washing, both myself and any dishes.
LIGHTING.
I pinched a solor shed light from Hubby. I had it sitting on the dash and the cable was long enough so the light could be used in the back. It worked but wasn't bright enough to read by.
Hubby put a battery in the back of the car and gave me a 12volt light that clips onto the battery..
This battery is trickle fed by a solar charger that is kept in the sunroof panel.
I do have an inverter but so far I don't plan on using anything else electrical. This may change though.
FIRST SOLO JOURNEY.